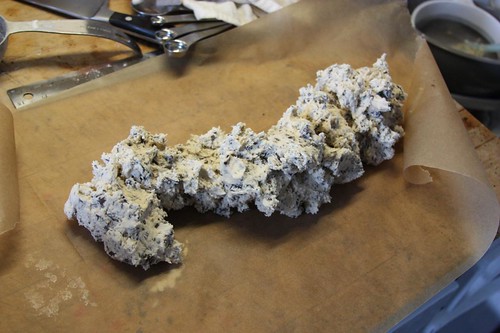
I started with my dough. The recipes for the butter cookies and the gingerbread I used were both from Martha Stewart's Baking Handbook. They were simple and elegant, and the recipes worked well. I made the butter cookie dough earlier in the week and chilled it for a few days. Here's some dough I made with chocolate pieces.
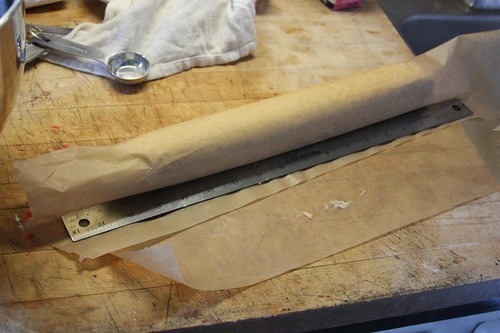
I wrapped the dough in parchment and, using a technique I also learned from Martha, I formed these prefectly round logs of dough by pressing a straight-edge (the ruler) into the crease of the parchment.
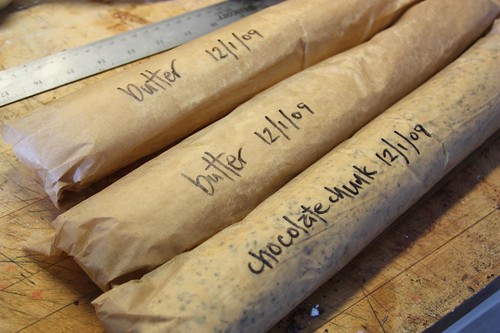
The result was three batches of ready-to-slice-and-bake cookie dough.
After chilling out in the fridge for a few days, I took these guys out, sliced em up, and turned em into 24 perfect little butter cookies each.

The gingerbread cookies were exceedingly simple. I doubled the amount of freshly grated ginger called for in the recipe, because, well - dang. They're supposed to be spicy and taste like ginger (which I love). I made three batches of this dough, chilled them all for about an hour, the rolled them out one of a time in preparation to be cut up.
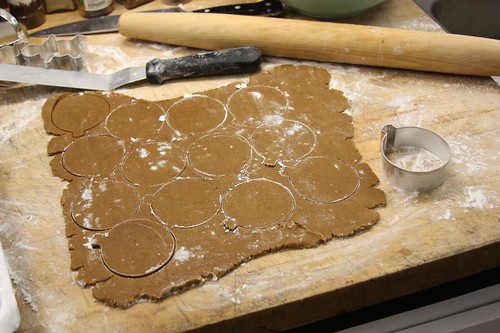
I planned to use several different cookie cutters, so I wanted to make sure I had enough dough. It made a LOT of cookies.
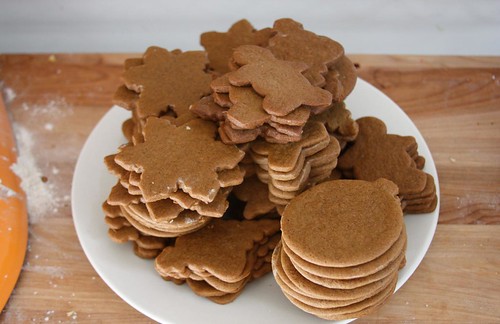
So here's what I had to work with:
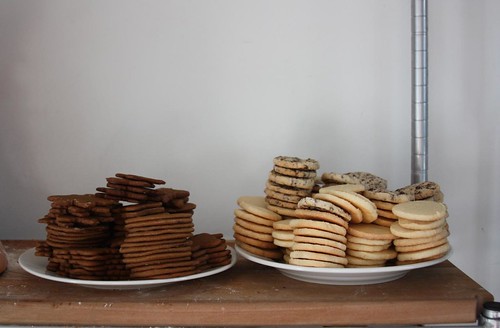
It felt good knowing I had plenty of cookies to mess up by experimenting more freely. This was a lesson I learned in the process. Having plenty of back-up really cut down on the stress of potentially screwing up.

By the way, I learned the best way for a cookie to hold it's shape in the oven after being cut is to freeze it. I froze these gingerbread cookies for about half an hour each, and they held their curves and angles really well.
What didn't help, though, was that I basically had two days to figure out a way to do this whole thing. How do I get icing through a stencil onto a cookie and make it look perfect? As I mentioned in my last post, I was determined to use fondant on top of each cookie, and the plan was to stencil onto the fondant. Once the stencil was dry, I told myself, I could then use the cookie cutters to cut the same cookie shape from the fondant and adhere it to the cookie. Time consuming, yes. But it should work, right? I really wanted these to look sharp and very modern and clean.
Well thankfully, the answer was a huge YES! Everything worked exactly as I had hoped. Essentially, I "screen-printed" the frosting onto the fondant using an offset spatula. It worked, and I was thrilled with the outcome.
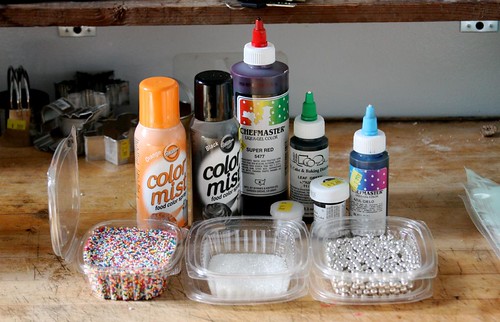
Here's basically what I used for the decor. Food coloring (I use a lot of that red for all the red velvet cakes people order). There are also silver dragees (those little silver sugar balls), colored jimmies (which I did not end up using), disco dust (a superfine edible glitter that I also did not use), and sanding sugar (which I used a ton of). The Wilton Colormist food spray was totally useless - it didn't work and tasted like butane. I can't fathom any semi-professional baker using this crap. It's $5 a can, too! Don't wasted your money - it's stupid.
I sifted out two pounds of confectioners sugar to make the royal icing and got some mixing bowls ready for different colors.

Loretta was totally uninterested in this project.

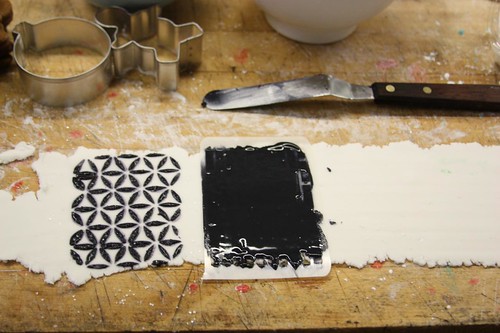
I kneaded the fondant I made a few days earlier. It needed to be warm so it wouldn't crack when it went through my pasta roller. After a few attempts, I got the first piece rolled out nicely and started stenciling. The stencils I was using from Ed were small - only about 2 1/2" by 4". That was a great size for one cookie, but I had about a hundred to make! At first I attempted to use one stencil to try and create a solid pattern. In the case below, I tried using the bricks.
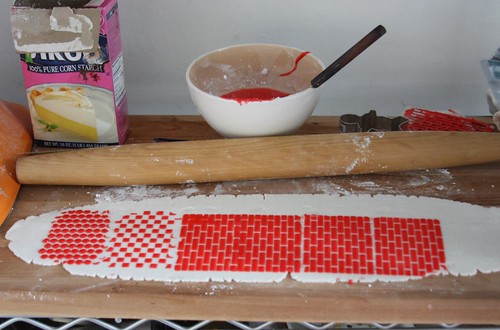
It didn't really work. Matching the pattern was far too difficult and time consuming on such a small scale. I also had to wait for the first pass to dry before laying the stencil down to print the next part of the pattern. And the stencil had to be thoroughly washed and dried after each pass so the icing color wouldn't bleed out onto the fondant. This idea was not working (but at least the icing was taking well to the fondant).
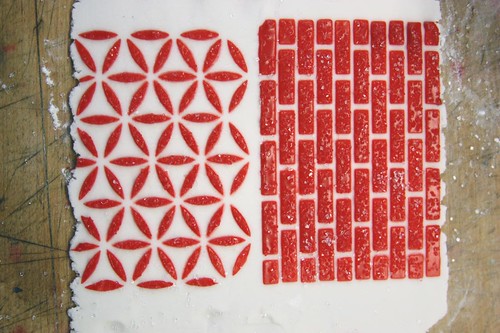
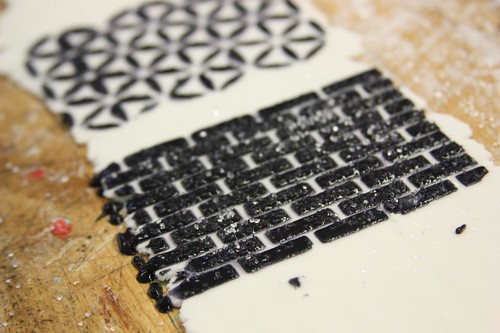
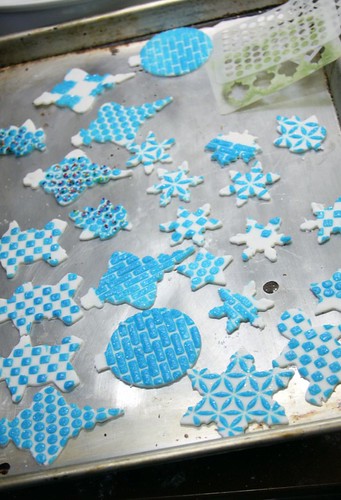
After a few more attempts, I decided to just go one pattern at a time. It was much cleaner and, while more time consuming, it at least gave me the result I was after. I sprinkled sanding sugar over each stencil after I printed it, and I think that also really helped the icing stay in place when I removed the stencil.
The sanding sugar looked particularly sexy on the bricks!
Here are some blue ones:
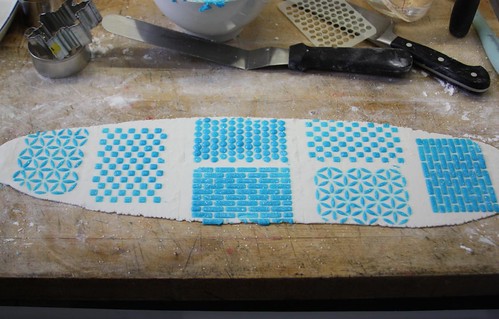
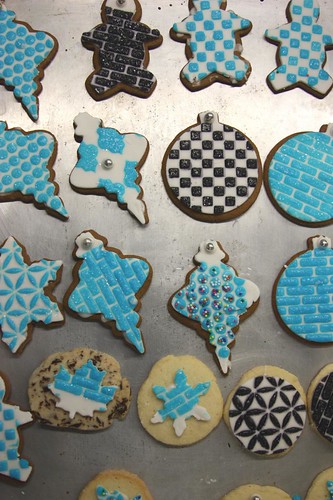
After going at this for several hours, I kind of got into a good rhythm. I started caring less about the patterns being too close to each other or about how the pattern was oriented on the fondant. My goal was to get as much pattern onto as much fondant as possible in a short amount of time. Cutting the fondant out with the cookie cutters was IMMENSELY satisfying. It was the stage of the process that I got to see and enjoy basically what the finished product was going to look like. Everything looked very sharp and very clean and very modern. I was really into it.
I knew at this point that everything was going to look really fucking amazing and I got really excited. I made up more royal icing and used it to adhere the fondant onto the cookies. The way the cookies puffed up a little as they baked made them a little bit bigger than their original size, so it provided a handsome outline around the white fondant. I didn't want to waste any of the printed fondant, so I used smaller cutters to cut the scraps into leaves and snowflakes, which you can see in this photo.
Here they are boxed up and ready to go.
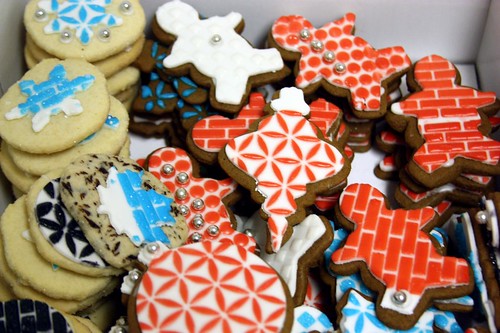
I was very very very very very proud of these!
I also made three 10" square spice cakes to use the actual stencils included in Ed's new book, Stencil 101 Decor. I marked off the center of the cake with my kitchen tweezers (don't fret - I use different tweezers for my eyebrows).

I used the Ranchero stencil in the center of two of them and Ed's name and face in the other. Powdered sugar is the medium here.
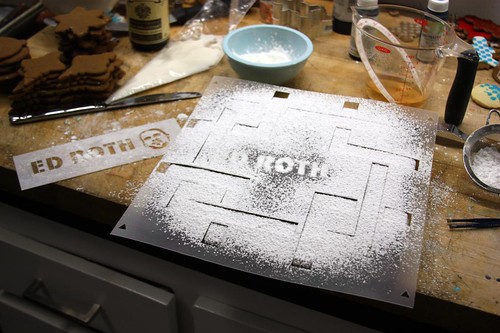
Here was the final result.
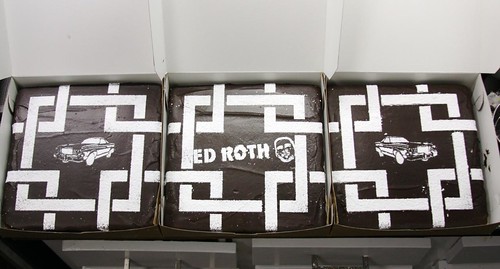
They looked really great all out on display.
A few things I learned from this project:
1. Freeze your cookies before you bake them. It really makes all the difference in holding their shape.
2. Give yourself as much backup as possible to prevent stress.
3. Larger stencils. I would have loved a 12"x12" pattern stencil to print one big piece of fondant at a time. Maybe that's something I can work on the future.
Well, thanks for reading. Back to the kitchen!
Christian
9 comments:
You are friggin' awesome! Those look amazing!
kenny
These look wonderful. What a success!
The cookies look amazing! Did people eat the fondant? Or peel it off?
Great tip about freezing cookie dough before baking. I wish I had read about that before baking a batch of blobs on Saturday.
You're amazing. Happy cookie days.
People ate the fondant! It was rolled super thin, thanks to my pasta maker, and it was flavored a bit with vanilla and almond.
Those look awesome! And amazing that you were able to create them. Cheers!
You blew it out of the water, true artist you are! Thank you again, love this documentation of the process!
What a great idea. I'll have to try that. I've cut fondant shapes and handpainted them for the tops of cupcakes, but I haven't stenciled before.
And yes, more ginger! More ginger!
Very enlightening and beneficial to someone whose been out of the circuit for a long time.
- Kris
Post a Comment