I've mentioned it a few times, but I did a really interesting, challenging, fun project for my pal Ed over at Stencil 1. His first book of stencils hit the shelves right before Christmas and the response has been great! He's already working on his second book. I'm very happy for him, and so was very happy when he asked me to stencil some baked stuff for the book release party.
After searching all over the internet for ideas and techniques, I discovered that there isn't that much information out there about stenciling on food. You non-bakers are probably laughing and thinking, "Duh, what did you expect, Christian?" But considering how far the boundaries are being pushed in food and craft these days (have you seen this??), learning how to get an image onto a piece of food through a sheet of plastic seems relatively simple, right? Wrong.
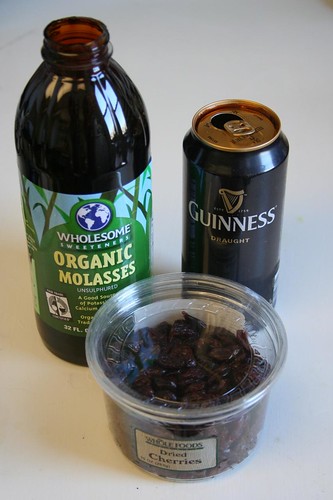
Well, I'm starting with the cake, and it actually was simple. Make a cake, level it off, put a smooth glaze on top that firms up when it sets, then stencil with cocoa or powdered sugar. I used a recipe from Martha Stewart for a chocolate cake made with dried cherries, molasses, and a lot of Guinness. Delicious.
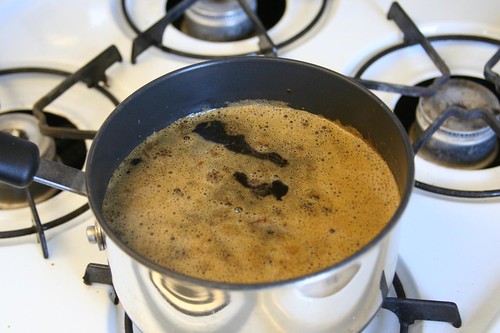
This was all very straight-froward. I cooked the cherries in a mixture of Guinness and molasses:
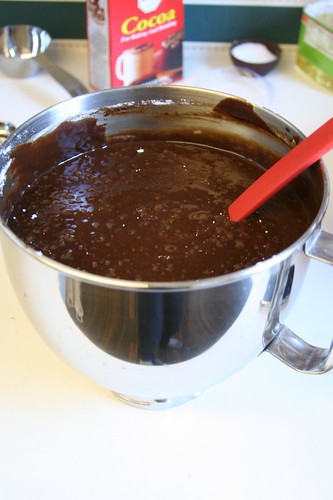
The recipe made a TON of batter! Technically, this is just enough for 2 10-inch cakes, but dang. I almost had a flowing batter fountain:

Filled my bowl to the very top.
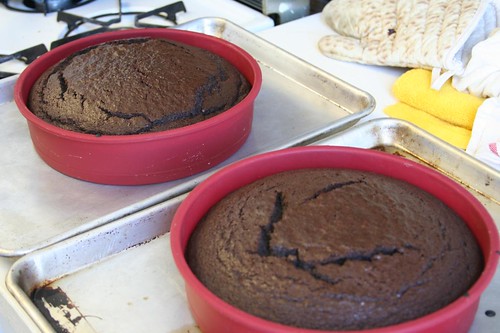
Oh, also, I used silicon cake pans for the first time ever. I got them on sale a few months ago, but had never needed to make a 10" cake until now. I really liked how they worked! I still prefer to cook in metal, but these are a great addition to any baker's arsenal.
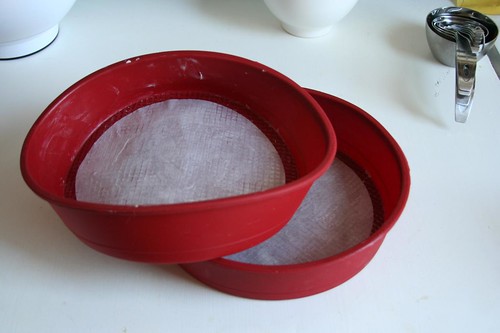
The cakes baked evenly and they came out smoothly, with no breaks or tears. No complaints.
These cakes were very moist and had a really deep, rich chocolate flavor. You could taste a bit of the iron from the molasses and Guinness, which I thought was great. The cherries added a really nice toothsome texture. They were fun to chew on.
After trimming the tops of the cakes and making sure they were level...
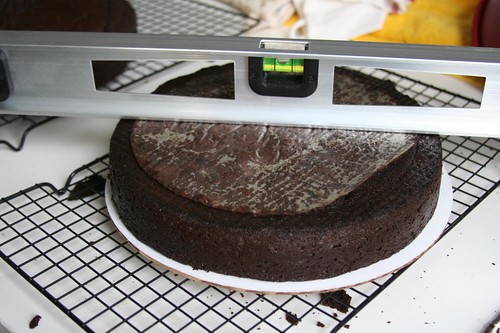
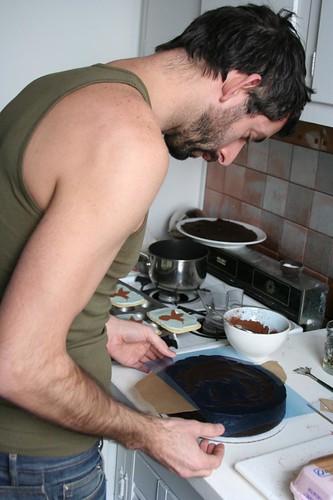
I made a simple chocolate ganache glaze and spread it on. Once it set, it was time for the fun part. Getting this image on the cake:
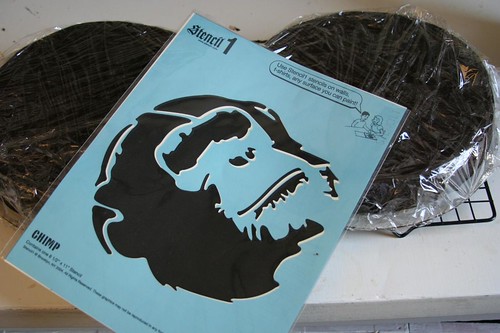
I knew this would work.
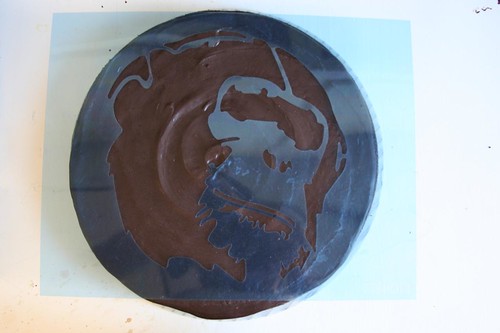
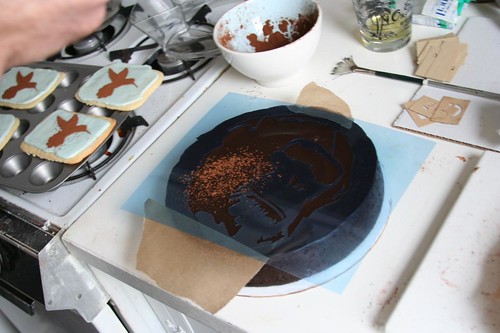
I was really into the idea of chocolate on chocolate, so I took a bit of cocoa powder:
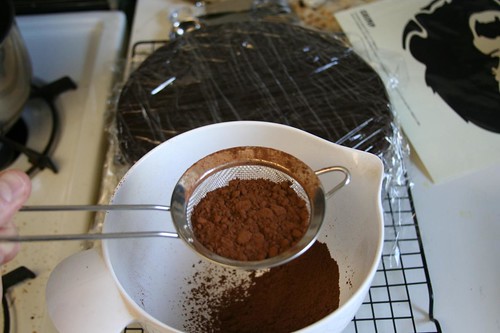
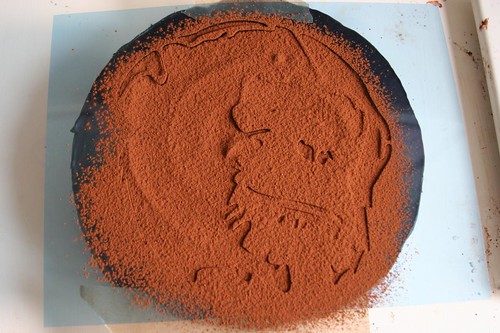
And dusted like a fool. (How nice that I left my old coffee in this shot.)
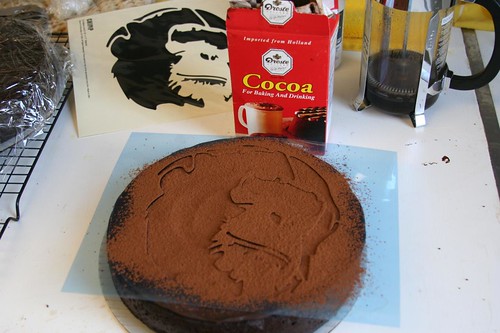
Success!
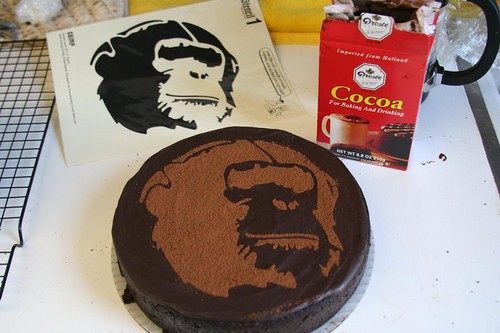
I made four of these cakes. The first two were experiments, the second two were for the party. Here are a few shots from the "party cakes." I stenciled these the day of the party so I could be assured of their freshness and good looks.
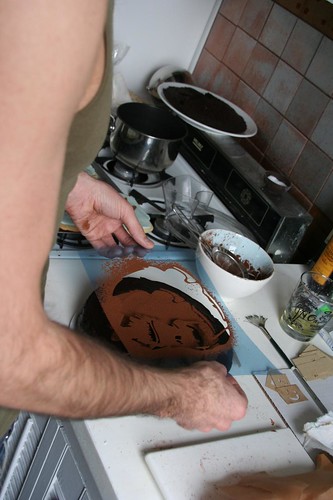
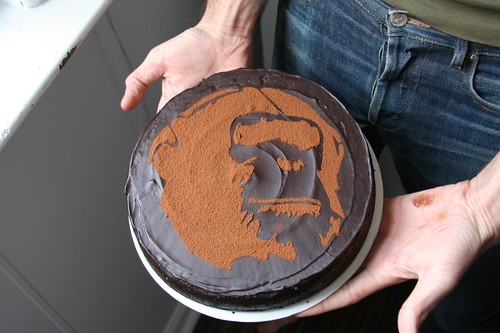
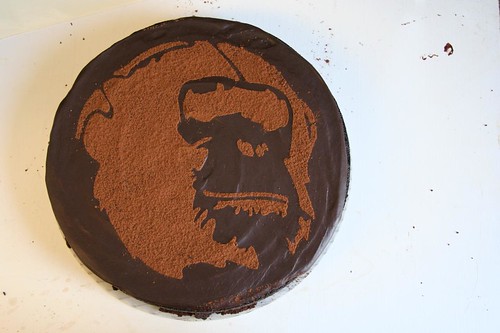
In that last shot, you can plainly see that I was unable to get the glaze to smooth out to a glossy, even layer. I'm sure this is largely because I still don't really know how to use chocolate beyond, say, melting it, then waiting for it to harden back up. Another small obstacle I had to overcome was learning how to lift the stencil off the cake without it sticking. When the plastic sticks to the cake, it kind "snaps" up when you lift it, which can knock off some of the excess cocoa off the plastic. Not really a big deal, but it can make the edges of the image a little less perfect. Actually, it drove me nuts. No one else seemed to notice, though.
The cake stenciling was, in my mind, an easy success. The cookies, however, were a completely different story. They were much more challenging, but mostly because I didn't know what I was doing. After some trial and and a lot of error, I figured it out. Coming soon...
1 comment:
this cake is so awesome! well all your cakes are! so amazing! u are very original!
Post a Comment